
In June, we were given some terrible news. My boyfriend was to follow a strict diet, embarking on a gluten-free and lactose-free adventure. At the time, our hearts sank. What would he do without cheese? Bread, that staple of the Catalan community, was a thing of the past. Many things contain gluten that we don’t even think about – including things such as toothpaste. This news was given to me on my birthday, which rather ruined our fine dining Italian restaurant experience I’d chosen as a birthday treat.
Trips to the world’s most expensive supermarkets, selling Bio everything, were now a part of the weekly shop. Meals out became increasingly difficult, with almost half the menu often wiped out. In solidarity, I decided to reduce my gluten and lactose intake, expecting it to be one of the hardest things I’d have to do. I have a complicated relationship with food, and after just starting to enjoy it, and myself, in food-related situations, I thought life was about to become much more bland and boring.
Things couldn’t have been further from the truth. It’s not that hard to eat ‘free-from’, especially now in Spain, as Bio supermarkets become more popular, and intolerances, or even life choices regarding diets, become widely more commonplace. I now have become an experimenter with food – my blender is my best friend, and my purse is suffering the consequences, but I don’t care. When your tummy feels happy, it affects everything in your life.
For this reason, I’ve decided to start sharing some of my experiments here, as I’d been posting many things on Facebook with people often requesting recipes – so watch this space for some interesting and (hopefully) delicious recipes!
Today’s experiment was based around chia seeds. These little balls of surprise contain huge amounts of fibre and protein, and magically bulk up things such as overnight oats and smoothies, to make a thicker texture. They have no taste, so are easy to add to recipes just for the nutritional benefit. But I wanted more from my chia seeds. I wanted to see what else they offered me. After browsing around the internet, I stumbled across a few recipes substituting egg as a binding agent for chia seeds. As it was a Sunday, my baking hat was already on – I love baking on Sundays, as it reminds me of home, and weekends spent licking the batter from spoons. I decided to create my own cake recipe that encompassed lactose-free and gluten-free.
Why not go the whole hog, though? If I didn’t use an egg, I could go further and make the cake dairy-free…and then push it more and make it refined sugar-free. A true experiment, because I bloody love cake. Nothing beats the light, fluffy goodness of it when it’s freshly baked. However, I’d sworn I’d eat less sugar (the ingredient in EVERYTHING, it seems) and was looking for recipes the other half could eat guilt-free. Needs must.
So, here’s my recipe for a banana loaf (one of my favourites in the loaf world), but tweaked to be free from nearly everything. Enjoy!
Chia Seed Banana and Walnut Loaf

The first thing to do is get your chia seeds into some water and let them soak it up. You’ll need 1tbsp of them, to 3tbsp of water. I just used tap water and left them in a little ramekin to do their thing. This will replace your egg and bind your mixture together. Plus so much good in such a little seed can’t be doing any harm, can it?
Pre-heat the oven to 170 degrees centigrade. On a hot day in my kitchen, there was nothing less that I felt like doing, but having the oven ready means having cake much sooner!
While those absorb, mash up bananas in a mixing bowl. Then add your muscovado sugar. You could do this with other sugars, of course, but I’m very partial to it in baking for its rich taste, and the fact that it’s non-refined. It’s difficult to get hold of in Spain but you can go to Bio markets and self-serve nut/grain shops like ‘Gra’ in the Gracia neighbourhood – which is reasonably priced and crammed up to the brim with alternative flours, pastas and grains. You can also sweeten your cake up with dates, but I like to taste the banana more than anything, so I put quite little sugar in.

I added some maple syrup into my mix, but you don’t have to. I am a sucker for syrup in general, so it winked at me from the corner of the cupboard. I think it wouldn’t make much difference flavour-wise, so if you have some to hand, then do the same as me and pour a smidgen in.
Mix up your sugar and banana mix, and add vanilla essence/powder. I bought some pure vanilla powder from a local health shop, and felt it was quite expensive at €12, but I use it every day for smoothies and other puddings so it’s a worthy investment, plus it lasts a while. The chia seeds need to have rested in the water for twenty minutes, so make sure they have done so, and then add them into your banana/sugar blend.
Weigh desiccated coconut and buckwheat flour out, and add the tsp of baking powder. If you don’t make this GF, you can use self-raising flour and cancel out the baking powder. You could add chocolate pieces/cacao nibs/cocoa powder for flavour, but that’s another experiment waiting to happen!

Mix your flour and coconut into the mashed banana mixture. Now it’s time to add some almond milk, a little at a time along with the flour mix, until you have a nice smooth consistency. Your instincts should tell you how much you need to put in – if it’s a little on the dry side, add more almond milk, and if it’s too watery, then you may need to add more flour/coconut to bulk it up. This is the reason why you need to add it all a little at a time!
The finishing touch will be some walnuts. Cut them up small, if you like, or keep them rather big for texture. Fold them into the mixture and it’s ready to be poured into a baking tin, pre-greased (I did mine with vegetable oil) or filled with baking parchment.
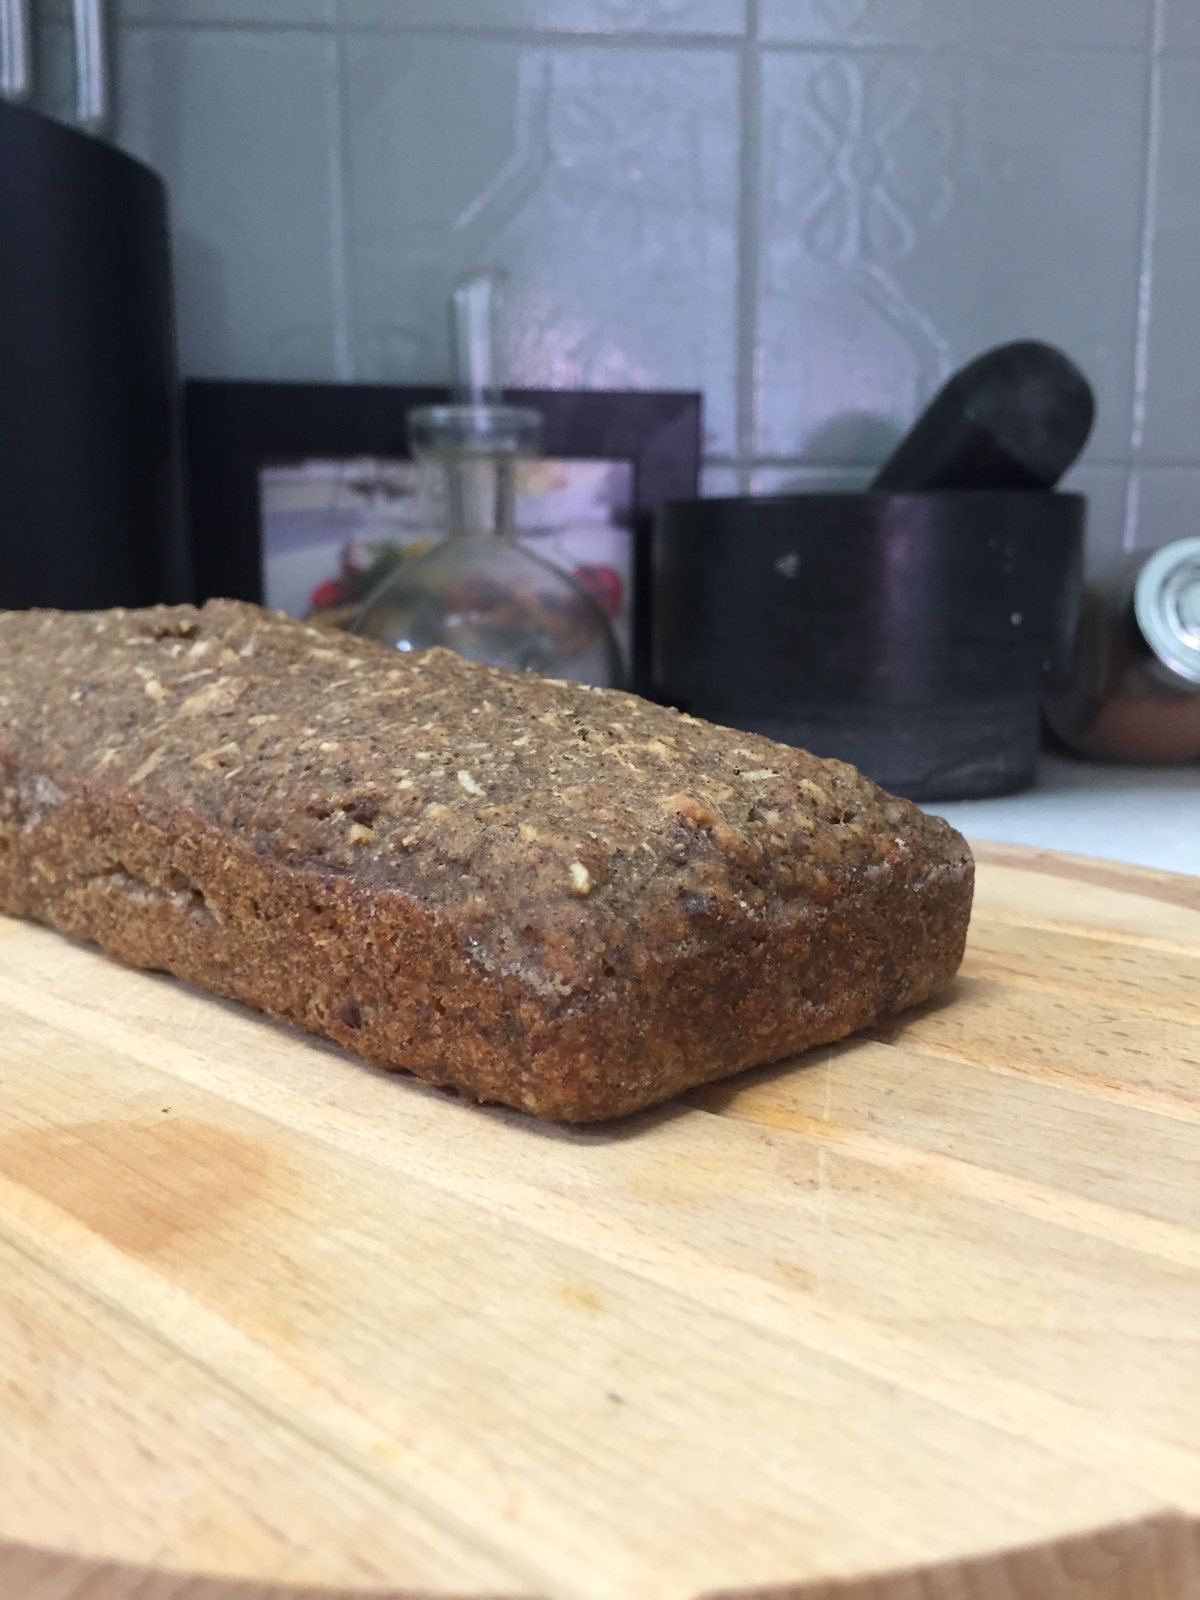
Put your cake in the oven and cook for about 40-45 minutes, or until a skewer comes out clean. Take out and leave to rest, then get it while it’s hot! The loaf’s texture is heavy because of the buckwheat, so if you don’t like that kind of dessert, you can switch and experiment with flours. I wanted a dense loaf suitable for work time snacks, so the texture was perfect for me.

Voila! Here’s my finished loaf. The colour was a rich brown, and it might sound strange, but that’s exactly how it tasted to me – I told you I liked that muscovado taste! The bananas add a lot of flavour and the texture is completely different to your usual banana loaf, which is why I liked it a lot. You could serve it as a dessert and pour more syrup on it, if you liked, or you could do as I’m going to, and take slivers for fuel throughout the day.
Ingredients:
120g buckwheat flour
2 whole bananas
60g dark muscovado sugar (dates can also be added to sweeten)
1 tsp baking powder (can be found gluten-free)
1 tsp pure vanilla powder or vanilla essence

30g desiccated coconut
50ml almond milk
1 tbsp chia seeds, mixed with 3 tbsp water
Handful of walnuts
Maple syrup to taste
